Showing posts with label Candy Castle Patterns. Show all posts

Sunday, July 31, 2016

I'm Such a Trendsetter!

It's going to seem like I'm jumping on the Pokemon Go bandwagon, but all the hubbub about the game has just reminded me that I never posted my makes from Danielle's Pokemon themed birthday party. Her birthday was in April, so I'm going to go ahead and take credit for making Pokemon huge again, k?


Danielle is getting older (she's 7 now!) and she didn't want "poofy" sleeves. She still likes some ruffles and adores a good twirl, but her birthday dress this year was a bit tamer than previous years (see birthday #4 and birthday #5). I made the Candy CastlePrincess dress pattern with 3/4 sleeves. I used two different Pokemon prints and Danielle *perfectly* accessorized it with a Torchic inspired necklace (one of the activities we did at her party). She also did her own hair, and I think it looked cute :) (We did pictures after the party so it's a bit messy, don't judge)

This is Torchic (Pokemon wikia)

The dress was an easy make and fit well. I bought a Babylock ruffler for my machine (I've had bad luck with the two generic rufflers I bought when I used a Janome), and it got a little fussy with me. I don't remember exactly what happened, but I had a very long strip of ruffle and had to go back and re-gather a few bits. Oh, and I had to squeeze the ruffle out of the piece of white with black polka dot fabric I had, so I may have cheated and gathered it a bit more and a bit less in some places. Besides that mess, everything went together really easily.


Little brother got a custom shirt in the party theme. I used the Mac's Monster Tee pattern from Cole's Corner and Creations and I LOVE how it turned out!

The non-Pokemon parts are plain black cotton lycra


I've seen raglan shirts made for boys with a mix of woven and knits (the front of the shirt is made from woven and the rest from knit), but I didn't want a solid shirt panel. Plus I wanted to find a way to use both Pokemon prints. I made the shirt according to the pattern--the only changes I made were to use a woven fabric for the lower front panel, and to add a woven pocket (piece from another pattern). I don't sew for my boy enough and he was very happy with his new shirt.


Beside the clothes, I also "made" a cake (some poorly frosted cupcakes shaped like a Pokeball) and we played a few games. Girls seem to like activities more at their parties than boys do. It was a fun day and I loved seeing both my kids in mama-made.

My favorite birthday picture is always the "cake face" one :)

Saturday, May 10, 2014

Happy Hello Kitty Birthday

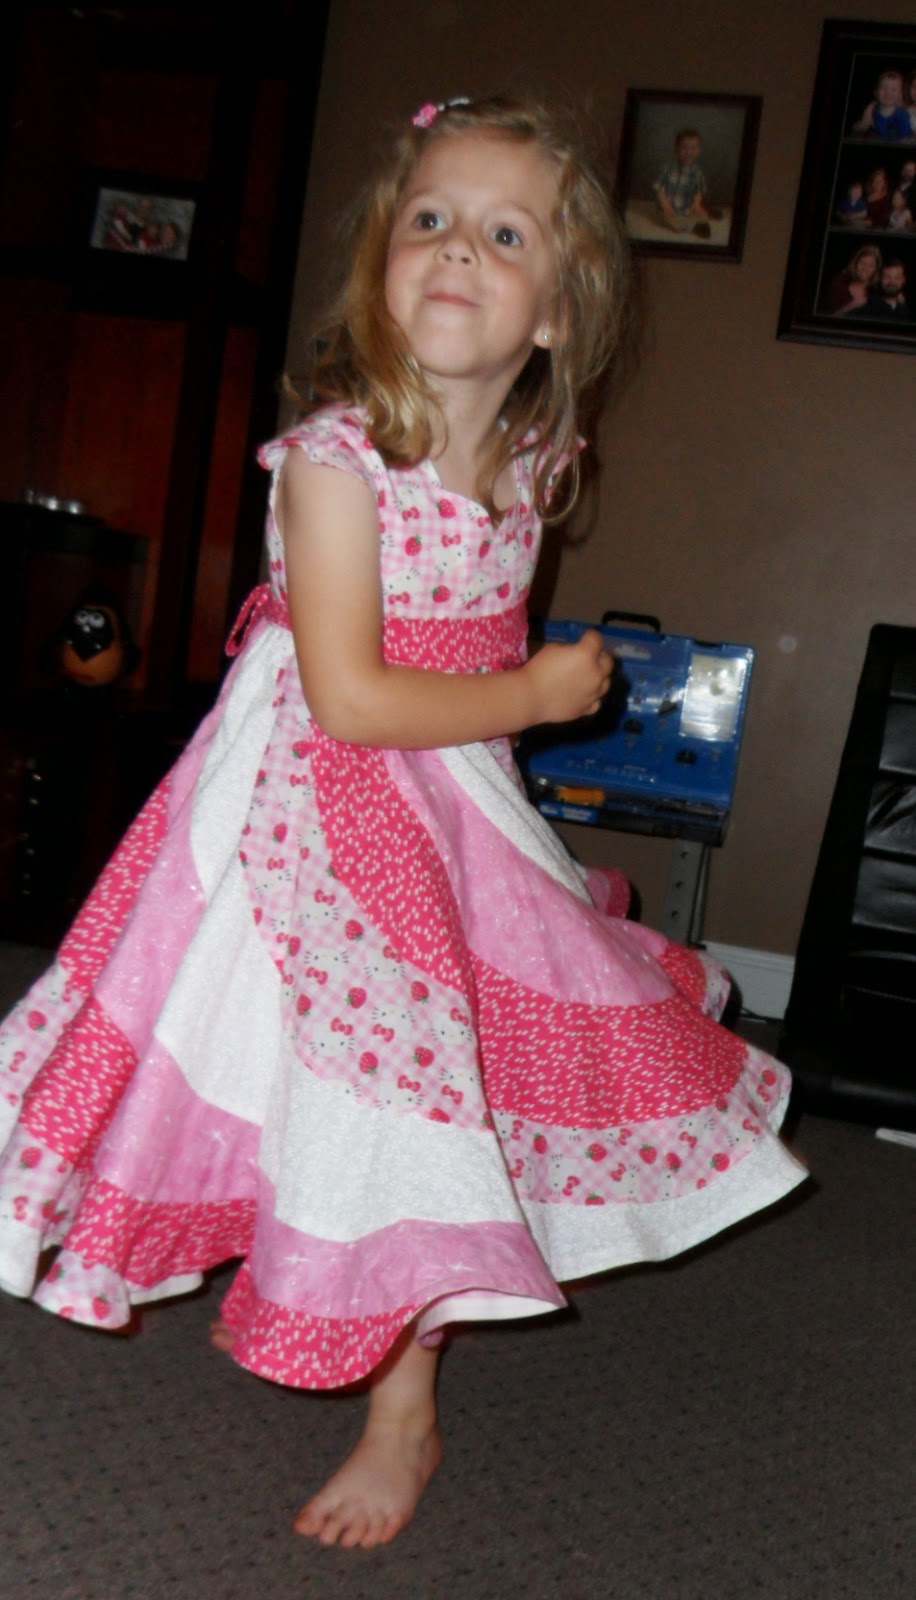
My sweet girl turned 5 recently and I wanted to make her a special dress. For her birthday, I like to do something a bit "more"--more ruffly like last year's dress, or more twirly and more pink like this year's. :)

I chose the Peppermint Swirl dress from Candy Castle patterns, so I had Danielle pick the Hello Kitty fabric she wanted for the main print. She chose a sweet pink gingham Hello Kitty fabric and I used a sparkly pink to coordinate. I also used a tone-on-tone white and a hot pink fabric with white spots on it (that reminded me of the strawberries) to round out the flounces.


I didn't get the best pictures--I was sick that week and was rushing to get the dress done on top of the party preparations. That's okay though, birthdays are more important than blog pictures :)

I used a size 4 slim bodice with a size 5 length. It's slightly empire, with a sash between the bodice and the skirt. And oh that skirt! There are 16 flounces, each made of two pieces. I got excited to make her a dress with a 9 foot hem, thinking it would be super twirly. In the middle of hemming it, I wondered why it was taking so long...then I realized I had read the bias requirements too quickly--I used 9 YARDS, which meant the hem was 27 feet around!!


It makes for one very twirly dress! She loved it and it was over-the-top enough for a birthday :) The fit was good but the dress was a little longer than I expected. It hit an inch or two below her knees. That's probably a good thing though--when she gets to spinning, the dress lifts up quite a bit!


She loved her dress and so did a lot of the moms at the party. One of them said she was going to talk to me about a dress for her daughter's birthday. I think she will be scared off when I tell her what I would charge for a dress that takes 4+ hours to make and uses several yards of fabric! It was totally worth it to see my daughter shine on her special day though (cue cheesy/creepy photo effects):


And just because, here's one more picture of that pretty skirt:


Thursday, August 29, 2013

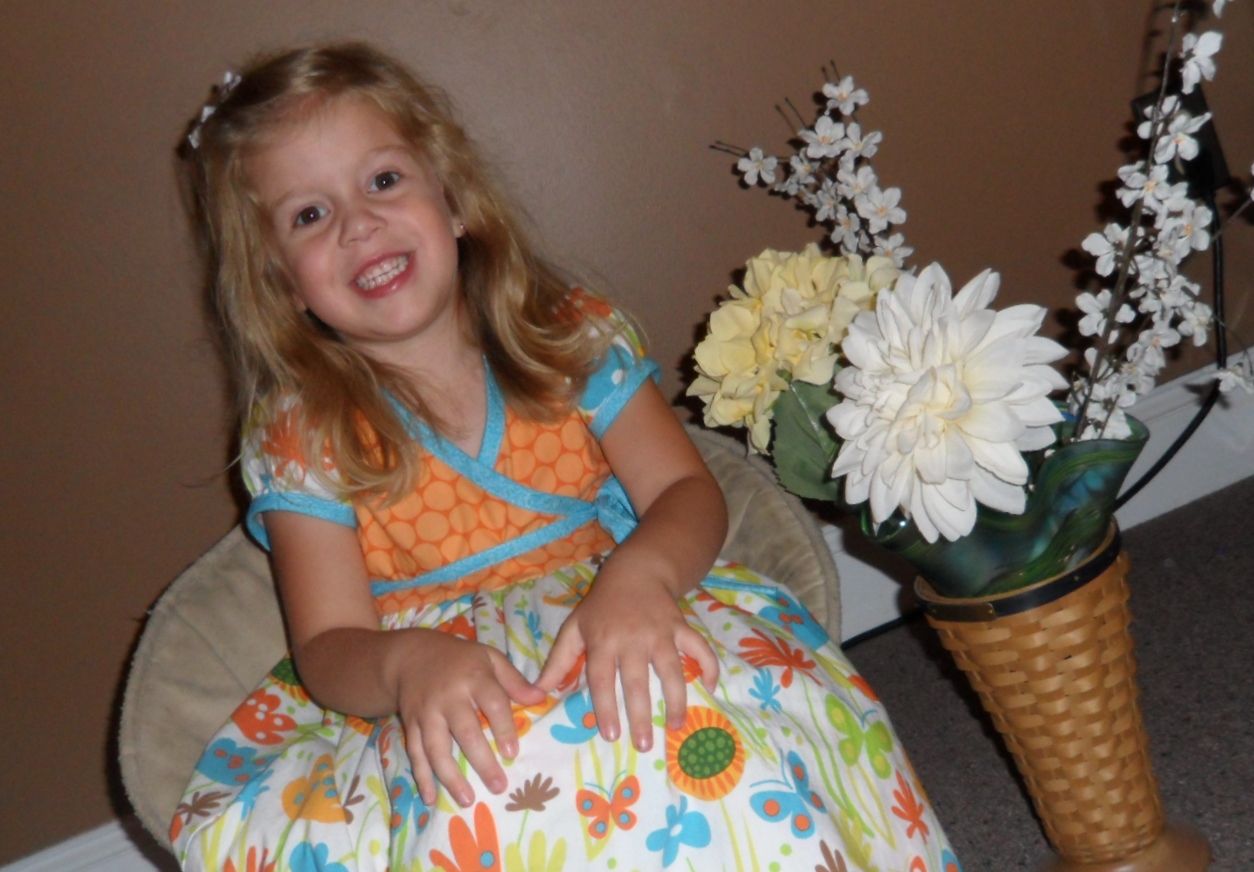
BubbleGum Dress

I participated in my first ever sew-a-long earlier this month and had a great time. It was through the Candy Castle group on Facebook, and there was a pretty generous deadline (it was a few weeks total to sew the dress). I didn't post as much as I would have liked to and I got behind a few times (even though we had several days for each step), but I finished on time and LOVED seeing all the beautiful dresses that others made.


I'm not normally a big mixed print kind of girl, but I had so much fun with the bright colors and all of the ways that prints can be used for this dress. I have to admit, though, I was a bit jealous of some of  the bias trims the other ladies used. There was one with lace edges and a lot with crocheted edges and they were so pretty.


I really like the effect of the blue I used but I realized after the photoshoot (of course) that I had tied it wrong--the tie should go around the back and I ran it across the front. Oh well. Next time Danielle wears it I'll get it right.


I really like this pattern. Actually, for the sewalong there was a modification--the skirt was made much fuller than the original (and the contrast band at the bottom may have been added for the sewalong as well). I like the poofed sleeves, the bias trim, the contrast band, the full skirt. I think I made the wrap cross a little higher so it would have a bit more modesty. The sizing had two sizes as one (3/4, etc), which I'm not a fan of, but because this is a wrap style it works for the bodice (and I have to adjust for length all the time anyways). And I need to adjust where the loop and tie are attached so it sits right at the waist seam, but I will definitely be making this dress again.

Haha, I pretended I was a real photographer and staged props!

The fabric combinations are endless, the original pattern has a slimmer skirt that would be fun to try, there's a ruffled neckline option, it can be made in a knit--this is seriously a solid investment.
Related Posts Plugin for WordPress, Blogger...