Showing posts with label vinyl. Show all posts

Monday, September 26, 2011

More Car Sewing

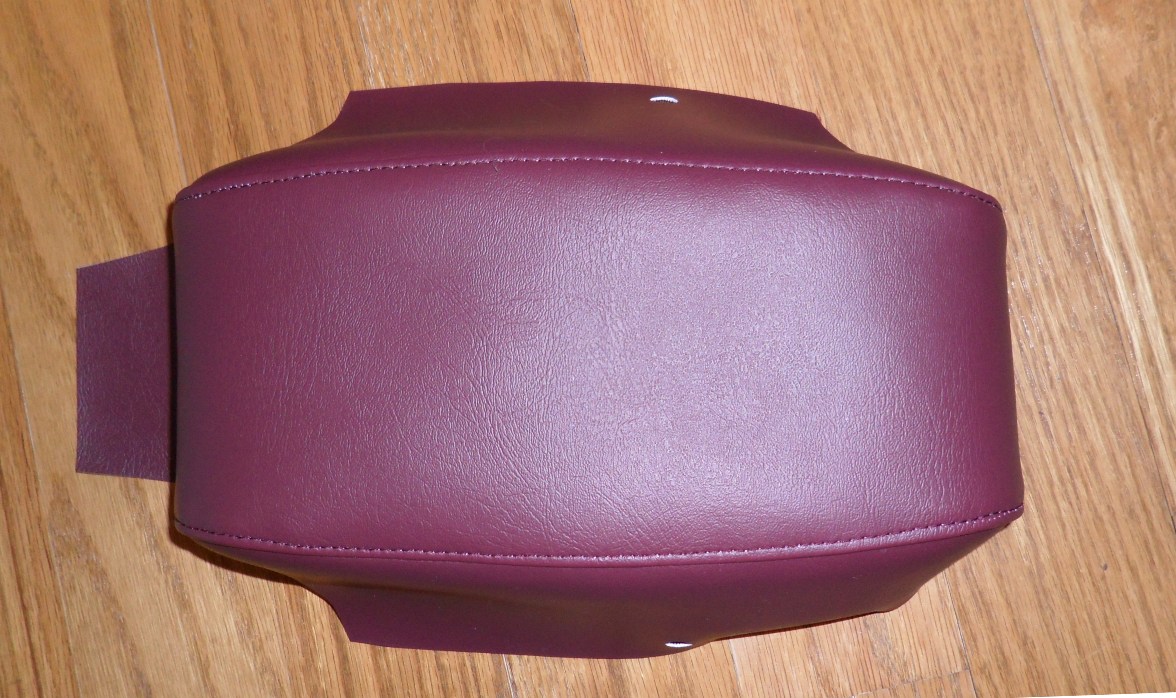
So, I finished up the vinyl boots for my husband's co-worker last night.  (Haha, I just re-read that sentence and it makes it sound like I made him some footwear).  Turns out the part from the previous car sewing post was an armrest cover.  Don't know why that name escaped me.

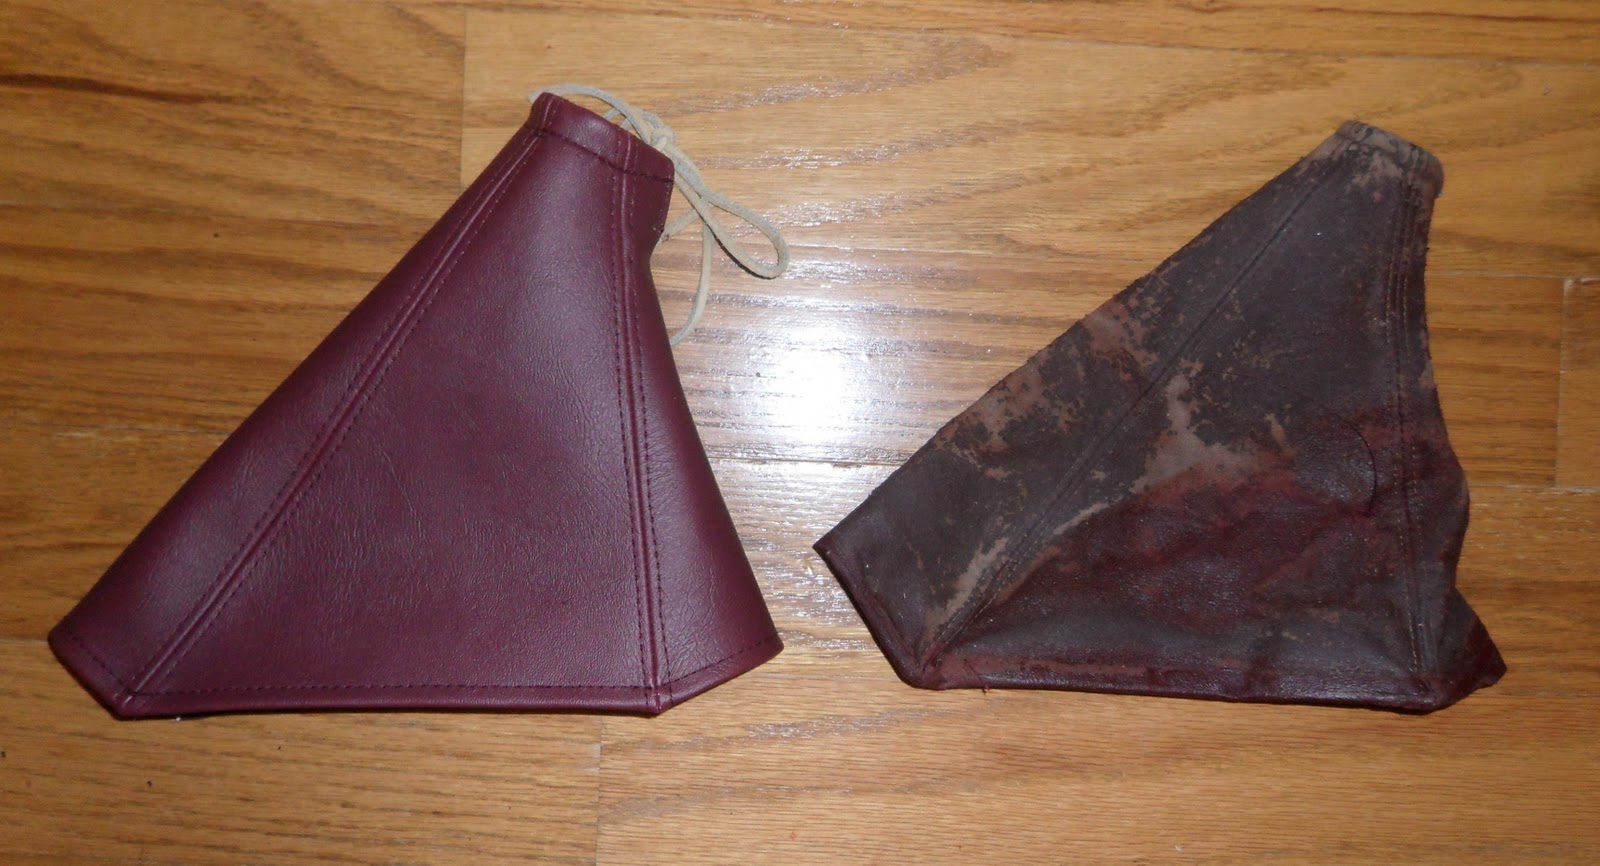
"Before" of the bigger boot
 
I'm so glad this project is done--it was holding up my fun sewing!  Actually, this project was enjoyable for the most part.  The vinyl was surprisingly nice to work with, but there was a round casing at the narrow end that was just tricky to get to.

"After" of the bigger boot
 
Oh, and I had to sew the casing with the leather cord in it, because I had no way to thread it through after it was sewn.  I ended up using my secret sewing tool (scotch tape) to "baste" the vinyl and took my time, and it worked out okay.  Not quite perfect, but pretty good.

Side-by-side comparison of the bigger boot

I took a lot of pictures because this was not ordinary sewing for me, but have refrained from posting all (or even most) of them.  If you're not interested in seeing lots of vinyl, you can skip out :)

Cool looking "hem"--I love how nicely the stitching
worked out around the corners


View of what the inside looks like


"Before" and "After" of the smaller boot

Sunday, September 18, 2011

Car Sewing

Hmm, so today I worked on something that's not my ordinary sewing.  A guy my husband works with is restoring a somewhat-old car and wanted to know if I could sew a new vinyl boot for it.  He gave us a bunch of clothes his son had outgrown, so I told my husband I'd see if I could do it.  Here's what my husband brought home for me:

The "before" picture--I took one of the side pieces off to
create a pattern to make the new one from


In case you are confused, this isn't a boot.  I'm not sure what this is called, but my husband brought me three pieces to re-do.  One of them is actually the boot that covers the base of the gear shift.

The "after" picture--Topstitching holds the seam allowance
in place on the underside (and makes it look like the original)


I was concerned about whether my machine (a little Janome Jem) would be able to sew the vinyl, but she had no problem with it.  Topstitching was a bit tricky since the needle leaves big holes in the material.  It meant I only got one try to get it right.

Side by side comparison
 

I think it turned out nice, but I'm going to make sure my husband's co-worker likes it before doing the other 2 pieces.  I am by no means a professional automotive upholsterer!  


Related Posts Plugin for WordPress, Blogger...