Showing posts with label tutorial. Show all posts

Tuesday, March 20, 2012

Tutorial: Silhouette Wall-Hanging


I am trying to fill some holes in my home decor on as small a budget as possible. Since I don't have any blank canvases on hand, I turned to a supply that I have plenty of--fabric! When I was looking for colors that would work in my guest bathroom, I found a scrap of pre-quilted fabric that I had left over from making crib bumpers. And so my silhouette wall-hanging was conceived.


1. Gather materials
The main items you'll need are:
 

  • Pre-quilted fabric--I used a piece that was 10" by the width of the fabric and folded it in half
  • Silhouette shape--more about that below
  • Solid fabric for silhouette 
  • Fabric to make binding or pre-made bias tape
  • Wonder Under or similar two-sided fusible interfacing (not shown in picture) 
You'll want to draw or find an image for your silhouette.  I googled "bird silhouette" and found lots of options.  I took bits and pieces that I liked from different pictures; you can see some of my inspiration in this post.   I sketched out the branch the way I wanted on a piece of tracing paper, and printed and traced the birds. If you don't find a silhouette you like, you can always just use the outline of a picture you do like.

Once you have your silhouette on paper, you'll want to check it on your background before you cut it out of fabric.

When I laid my pattern onto the background I realized I wanted to adjust the shape of the branch a little, so I cut a wedge so that I had a "hinge" that allowed me to reposition the end.


2.  Prepare your fabric
This is the fabric I used for the silhouette. It's left over from some pants I made myself, and I love the texture that it adds.


Cut a piece of Wonder Under (double sided fusible) the same size as your fabric.  Fuse as directed by the instructions that came with the Wonder Under.


Once the piece has cooled, peel the paper backing off.  You should be able to see & feel the fusible on the back.


Lay the pieces you want to cut out on your fusible backed fabric, right side up


Cut them out.  The piece on the right is flipped over to show the fusible on the wrong side.


3.  Fuse & sew your fabric onto the background
Place your silhouette on your background fabric, making sure it's right where you want it.  Fuse it in place (again, using the directions for your fusible).  You can see the space I left in the bottom left--that will be covered by the binding so my branch will actually go all the way to the edge.


Select what type of stitch you'll use.  I used a small zigzag stitch since my silhouette is rather thin and pointy in some parts.  You may choose to use a larger zigzag, depending on your silhouette, or a blanket or satin stitch if your machine has them.


I recommend testing on a scrap first--just sew some scraps and make sure your tension is correct--you don't want to have to unpick teeny zigzags!

If you're using one long piece like I am, make sure you stitch through the front layer only.  We don't want to see our silhouette outline on the backside.


Here's one way to approach an inside corner--like the beak--using a zigzag stitch.  I'll be using two pivot points--one that is a stitch-length away from the tip of the beak (pivot point 1) and one that is right on the tip (pivot point two). Since the edge of the fabric is to my right when I'm sewing, the stitches actually go from right to left in all the following pictures.


Sew until you get near the corner. You'll want to stop with the needle down at pivot point 1.


Lift the presser foot, and turn your project slightly so that the next stitch will fall in pivot point 2.  Lower your presser foot and sew one stitch, stopping with the needle down in pivot point 2.


Now you'll want to lift your presser foot and pivot your project so that the next stitch will fall back at pivot point 1 (it will be sewn right on top of the last stitch).  Lower your presser foot and sew one stitch, stopping with the needle down in pivot point 1.  In the illustration below, I showed this last stitch in red, so you could see that there are two stitches in the same place now.


Now, you'll want to pivot one last time, turning your project so you can continue zigzagging as normal.  The next stitch should fall right on the edge of the applique fabric, and the result will look something like this:


For an angle greater than 90 degrees you'll want to pivot as well, but will only need to do so right at the corner.  In the following picture, I stitched until I got to the pivot point (the red dot), then I left the needle down at the pivot point, lifting the presser foot up and turning my project so that the next stitches would follow along my shape. 


It's not nearly as complicated as it sounds and I think you'll find machine applique to be a lot of fun if you've never tried it before.


4.  Bind and finish your wallhanging
Next, I bound my wall-hanging.  The method you use to hang your wall-hanging will dictate whether you do things in a different order.  I chose to sew some rings on the back (a method I found here) to hang my quilt, and those don't get attached until everything else is finished.

I cut the bias strip for the binding using the bias tape tutorial from Cole's Corner and Creations.  Did you know you can make 5 yards from a fat quarter?  I used this awesome tutorial from Jaybird Quilts to apply the binding and enjoyed it so much more than attaching bias tape  (I never knew there was a difference).


Now attach the rings on the back.  I used two, since my piece is a bit long.  You'll want to sew them equal distances from the top, so that the wall-hanging will hang straight.  (Don't worry, though.  If they're a little crooked, you can always make up for it by putting the nails in your wall a little crooked :) )


And that's it!  I hope this project inspires you to create some fabric art for your home.


Tuesday, October 4, 2011

Tutorial: Toddler Grocery List

There are lots of moms who are trying to juggle sewing time with the time it takes to do chores. Hopefully this tutorial will help with the latter. It will walk you through creating a list that will keep your child busy engaged at the grocery store. I've also provided a link to a pre-made list that is 6 pages long.

Sheet protector + Dry erase marker = Reusable!

I saw a similar idea online a while ago and when I couldn't find it before our grocery run this morning, so I made my own.  It's a list of words and pictures for my daughter to help me find items in the store.  I used a mix of items she was familiar with and some that were a bit of a challenge for her. 

After creating a list in Microsoft Word (I made two pages for today's trip), I printed it off and put it in a plastic page protector.  My daughter crossed off each item off with a dry-erase marker as we found it in the store.  She loved it! 
I'm hoping the combination of pictures and words
will help when she's ready to start reading


I've created a list of almost 50 items, including fruits, veggies, dairy, meats and starches.  You can download it (it's 6 pages long) off of Google docs here: Toddler Shopping List.

If you download it as a Word document, you can edit it to delete or replace the items that don't suit your needs.  Or you can read on for details on creating your own list from scratch.


Hopefully you will find these instructions to be useful, even if you're fairly computer savvy or are using a different version of Word (I have Office 2003).  I do assume that you have some knowledge of computers (ie, how to "Google"), so please email me if you have any questions.  Of course, there are multiple ways to do things within Word, this is just the way I prefer.


1.  Create your outline in Word
Open a new document in Word.
Change the layout to landscape.  Select "File" from the Menu bar, then select "Page Setup" and click "Landscape".


Create two columns. Select "Format" from the menu bar, select "Columns" and then click on "Two".


Change the font and font size to something easy to read (even if your toddler can't read yet, you want the letters to be clear and distinguishable).  I used "Courier New", 18 point, bold.  Type in the basic name of the foods you want (ie "bread" or "eggs"), separating each word by several returns so that there will be room for pictures.  I used 5 spaces in between each word. 


Four words fit in each column for me.  To add words in the second column, place your cursor at the end of the last word in the first column, select "Insert" from the menu bar, then click on "Break".  Then select "Column Break" from the window that comes up.


Type another column of items.  Now your list should look something like this:


**I took all the following screenshots with only one column showing, I apologize if that causes any confusion**


2.  Find and save the images you want
A quick way to do this:
  1. Enter the name of a grocery item in a Google search box
  2. Select images from the list on the right to see results as pictures
  3. Hover your mouse over the picture you want to save.  It will expand and you can right-click and select "Save Image As" to save to your computer.  Save the images to your desktop for now
  4. Repeat for the other items on your list


3.  Add your images to your shopping list
Resize the window with your Word document so that you can see both your list and the icons of the images saved on your desktop.

Drag the icon of your first image over to the Word document (you'll want to clicking and holding the left mouse button on the icon in order to be able to move it).  Release the mouse button and the image will be inserted into your Word document.


Here's what my image looks like now that I've dropped it into Word.


We'll make a few changes so we can reposition the image and it will fit with the text we've laid out.

First, select the image, right-click on it, and select "Format Picture"


Select the 3rd tab "Layout" and click on "Tight".  This will allow us to move the picture wherever we want.


While we have the Format box open, we'll set the size as well.  I like to do it this way so that the images are all about the same size.* 
Select the "Size" tab and enter a height--I chose 1.2 inches to fit 4 pictures vertically on a page. 


* You could also just go the traditional route and resize the picture by using your mouse to drag the handles around the image (make sure to hold "Shift" while you do that so you don't distort the image).


This is what my broccoli looks like, now that I've changed the text wrap and size properties.


Drag the picture to the left of the word it belongs to. The text wrap on the picture will scootch the word over.


Add the remaining pictures the same way.

Here's what an entire page looks like.  Yes, we do buy a lot of veggies :)


If you end up trying this, I'd love to hear if you found it useful and how your shopping trip with your little ones works out!


Sunday, September 11, 2011

Tutorial: Using a Ruffler Foot--Construction

I mentioned in the last post that there's a difference between learning to gather with a ruffler foot and learning to use it to make a garment.

My current favorite dress style involves LOTS of gathering


The first key to using a ruffler foot in a garment is that you want to gather and attach the ruffle in the flat.*  Instead of sewing strips of fabric to make a loop, which is gathered and then sewn on (say, to the bottom of a skirt), we'll sew the ruffles on to the front and back, then stitch the sides together.

Using a ruffler foot this way saves time, but does take some forethought.

We'll construct two pieces like this, then sew them together


The other key is to leave wiggle room when you cut your ruffle strips.  If you cut them the exact length you need, then you have to ruffle them exactly.  If you cut them a few inches longer, you don't have to spend so much time trying to be precise.  You can gather the strips quickly with your ruffler foot, attach them, and trim off any excess.


1.  Do the math
To start, I measured the pattern pieces used for the tiers.  I came up with the following:
  • bodice - 12 inches
  • middle (contrast) tier - 24 inches
  • bottom tier - 36 inches
A little math breakdown (24:12 = 2:1 and 36:24 = 3:2) shows where those magic numbers came from the other day.  Turns out they are pretty common ratios for ruffles.  If you get something awkward like 28:13 1/4, you can round it to 2:1.


2.  Attach the ruffles
You can choose to either ruffle the contrast strip and then sew it to the bodice, or you can ruffle AND join the two pieces at once.  I chose the latter.

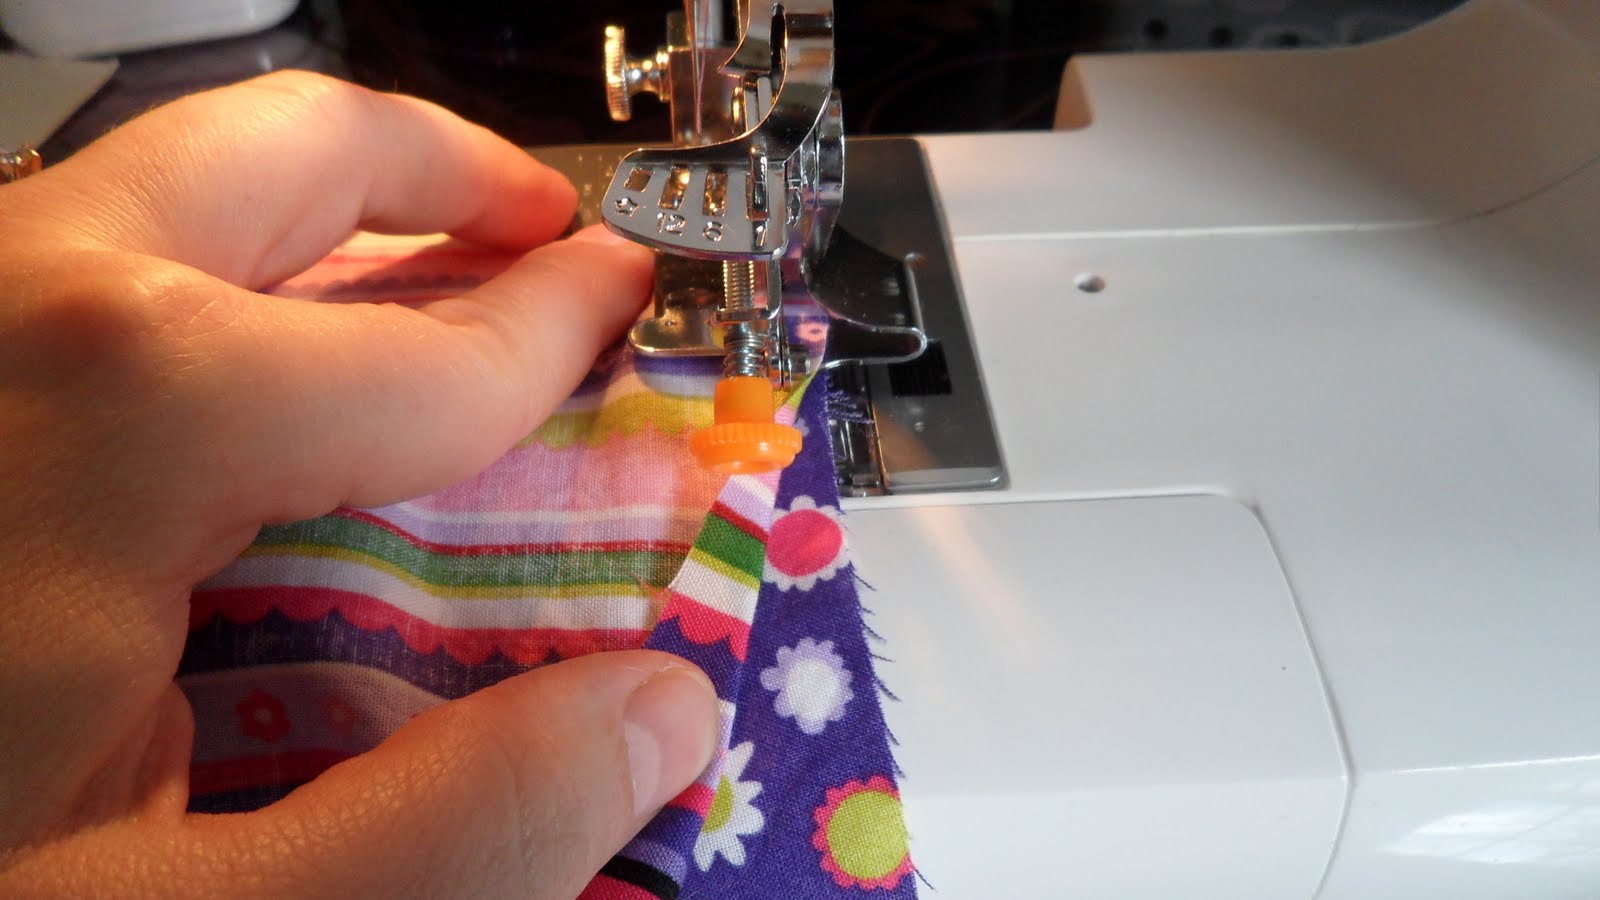
The fabrics should be right sides together, with the fabric to be ruffled on top.  I like to line both fabrics up at the 5/8" guide and then slide them further into the ruffler until they are under the needle.  I have the top fabric folded back a bit so you can see that they are right sides together.


Put the presser foot down and turn the handwheel towards you to bring the needle into the fabric.  Start to sew, remembering you won't be doing a backstitch at the beginning or end of the seam. (You only want the fabric moving front-to-back through the ruffler).

To ruffle & attach at the same time, I like to hold the fabric on the bottom with my right hand resting on it, fingers flat.  Then I hold the fabric on top between the fingers and thumb on my left hand, lining it up with the guide as the fabric moves. 


Gather/sew the middle (striped) tier to the bodice.  You can see the extra "fudge factor" on the striped piece.


Trim some of the excess off--this will get neatened up later.  By trimming now, you avoid some waste with the bottom ruffle.


The bottom tier gets sewn to the dress the same way.


Now trim the extra off neatly.  I got fancy and broke out my rotary cutter and cutting mat for this.  Cut perpendicular to the seam, since your fabric was originally a rectangular strip.


Here's what it looks like after it's trimmed.


Here is the result once both sides are trimmed.  The front should look similar.


Finish the seams between the tiers in whatever method you prefer.  I serged them, but you can zigzag, overcast, bind them with bias tape, leave them be, whatever you want.


3.  Finish the dress

Sew the front to back at the side seams and finish them with your preferred method.


I constructed the rest of the dress by following the instructions for those parts:

Sleeves (I love the free arm on my machine--it makes it easier to sew baby and toddler sleeves)


Hem--instead of doing a narrow hem by folding under twice, I serged the edge and folded under once


Neckline--I also serged/folded under for the neckline casing


I added a size & "brand" label


Whew! It's finally done!


If you have any questions, you are always welcome to email me at: daniKatedesigns@gmail.com

*I might have made that phrase up.  It basically means to attach the ruffle while the fabric is flat (vs in a loop).  Derived from sewing in the round, a real phrase used to describe sewing sleeves. 
**A skirt would be made in a similar fashion, but leaving off the bodice/sleeves and finishing the waist per the pattern instructions. 
Related Posts Plugin for WordPress, Blogger...