
 |
| My adorable nieces in their dresses (made before I had a ruffler foot) |
When I bought my ruffler foot, I found it severely lacking in instructions. And, while there are many resources on how to ruffle a strip of fabric (such as this one), there aren't many that tell how to use a ruffler foot to make a dress or a skirt, etc. So I hope this two-part tutorial fills a niche.
This first part will cover the set up and test strips for using the ruffler foot and the next part will cover the dress construction (which is the all-important application portion). Hopefully you will find ways to apply this information to whatever you may want to add ruffles to :) If you have any questions or need clarification, please leave a comment or you can always reach me at: daniKateDesigns@gmail.com
Some general tips when using a ruffler foot:
- MAKE SURE YOU PUT YOUR PRESSER FOOT DOWN TO SEW!
(this can save you an hour of aggravated troubleshooting) - You do not want to back-stitch at the beginning or end, the fabric is only meant to go front-to-back through the ruffler.
- The ruffler will sound noisy and a bit like it's broken, even though it's working. It takes some getting used to. It will, however, make a different noise if the blade gets bent and hit by the needle (ouch!).
- Take a picture of your settings or write them down so that you can apply them to your project. Be sure to note what kind of fabric you used, so you can reference your notes for future projects as well.
The following should help walk you through how to figure out a 2:1 and 3:2 gathering ratio for your ruffler. I'll explain more about how these numbers can be used in the second part. Try to just take a leap of sewing faith for now, okay?
1. Gather materials
You'll need a ruffler foot (on right) and some 6-inch fabric strips to test your settings.

I used strips of fabric left over from cutting out my dress pieces.

2. Set up your ruffler foot/sewing machine
Here's the ruffler foot attached to my machine (there are lots of resources for help with this part). Set your ruffler to "1", so it will gather at every stitch.
Set your machine to a long straight stitch (this is the longest setting I have on my machine).

3. Test your settings
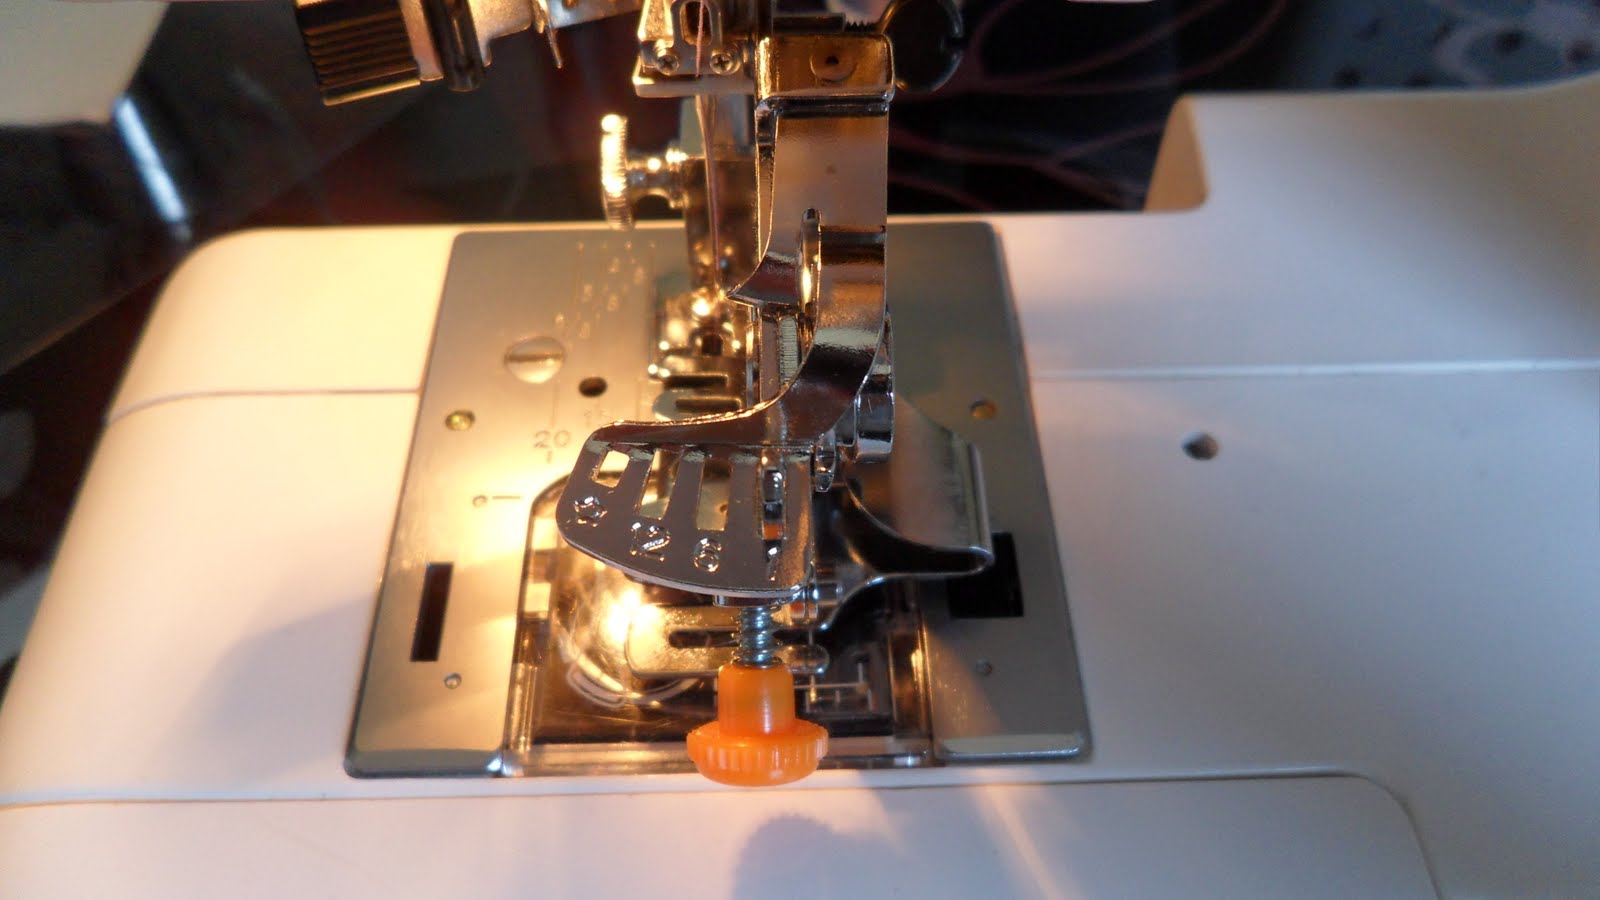
Here's where you'll have to experiment. You'll need to set your adjustment screw (mine is the orange knob shown in the photos below) to change the depth of the gathers. More threads showing at the end of the screw means a deeper pleat, which means your ruffle will be more ruffle-y. You want to figure out what settings you need for a 2:1 gather and a 3:2 gather.
For a 2:1 gather, I have about 4.5 threads showing at the end of the adjustment screw.

Insert a test strip into the ruffler foot. It should go under the ruffling blade, which is what pushes the fabric to create the pleat/gather.

Turn the handwheel to bring your needle into the fabric, then start sewing. Remember, you do not want to backstitch. Once you sew your first test strip, measure the end result & adjust the screw if needed. Our goal is a 3 inch ruffle.
If it's too long, set the screw deeper
If it's too short, back the screw out some.
Keep testing strips until you get a ruffle that's about 3 inches long. It doesn't have to be exact! You just want it in the ballpark--ideally within a 1/4 inch or so, since the amount you are off will be multiplied with a longer piece of fabric.
Once you figure out where to position the screw to get your 2:1 gather, record it! Take a picture, write it down, do whatever you need to to remember. Then back the screw out to adjust for a 3:2 setting.
My setting for the 3:2 gathers is about 2.5 threads showing at the end of the adjustment screw.

Your ruffle should end up 4 inches long. Remember to record this as your 3:2 setting.
Here are my resulting test strips. The one on the left is the 2:1 gathers, and measures about 3 inches. The one on the right is the 3:2 and measures about 4.25 inches. Remember, the ruffler foot is supposed to save time, so you don't need to be overly exact.

Don't worry, this setup only takes this long the first time! It is a good idea to do a quick test strip for each project, though, since different fabrics will gather differently. But since you already have a baseline setting to start with, it should go quickly.
The next post will show how to use this information to make the dress. That is what I consider the most helpful, so I hope you'll be back!
No comments:
Post a Comment