Thursday, September 29, 2011

"Spooky" Halloween Shirt

I am so excited about this shirt I made my daughter!

I think this is the perfect green for Halloween


My cousin made a super cute one with this alphabet for her daughter and I have been planning one in my mind ever since.  I had to get a bunch of other projects out of my queue first, but those are done and now it's time to sew some fun stuff!

The fabric is from The Little Fabric Shop.  It's a Riley Blake print and it turned out just as I imagined for this design.

White Boo Signs fabric from Riley Blake


The design is the Spooky Frame Alphabet from Planet Applique.  All of her designs are on sale right now, so it's a great time to get an alphabet.  The purple for the "D" was a last minute inspiration.  I feel like I make my best color decisions during a stitch-out, which makes for a scary design process!

Do you see the extra spiders? :)

Tuesday, September 27, 2011

Tip: Rotary Blades

Today's tip is one I learned from the message boards at Pattern Review:  Instead of paying $3 - $5 per blade for 45mm rotary blade replacements, you can pick these up for about a buck apiece.  I got mine at Harbor Freight, I'm sure they are sold at other stores as well. 

They're called carpet cutter blades

Also, if you have trouble cutting straight with a rotary cutter (and I did, even though that is pretty much the whole point of them), I recommend getting one with a handle like this.

NAYY*, just a happy user


This one is from Fiskars and my mom gave it to me.  The handle makes it really easy to get a balanced grip, which makes it so much easier for me to stay alongside my ruler.

*In case you are wondering, I don't get money to say nice things.  I just wanted to pass along what has worked for me and made me happy.  If Janome (the sewing machine manufacturers) ever wanted to give me free stuff to endorse them, I would totally do it.  Otherwise, I'm just a girl who loves to sew, no commercial strings attached:)

Monday, September 26, 2011

More Car Sewing

So, I finished up the vinyl boots for my husband's co-worker last night.  (Haha, I just re-read that sentence and it makes it sound like I made him some footwear).  Turns out the part from the previous car sewing post was an armrest cover.  Don't know why that name escaped me.

"Before" of the bigger boot
 
I'm so glad this project is done--it was holding up my fun sewing!  Actually, this project was enjoyable for the most part.  The vinyl was surprisingly nice to work with, but there was a round casing at the narrow end that was just tricky to get to.

"After" of the bigger boot
 
Oh, and I had to sew the casing with the leather cord in it, because I had no way to thread it through after it was sewn.  I ended up using my secret sewing tool (scotch tape) to "baste" the vinyl and took my time, and it worked out okay.  Not quite perfect, but pretty good.

Side-by-side comparison of the bigger boot

I took a lot of pictures because this was not ordinary sewing for me, but have refrained from posting all (or even most) of them.  If you're not interested in seeing lots of vinyl, you can skip out :)

Cool looking "hem"--I love how nicely the stitching
worked out around the corners


View of what the inside looks like


"Before" and "After" of the smaller boot

Friday, September 23, 2011

Quick Clippies

Ugh, too much getting up with the baby at night and not enough sewing makes me cranky!  I am chipping away at my projects, little by little, and do have something to share:

Ta-da!


Try not to be overwhelmed :)  These are some flower felt stitchies from GG Designs Embroidery.  There are 3 different centers you can use (this is the plain), and, as you can see, you can applique some fabric in the middle.  I made these to go with the purple peasant dress you've seen a lot of.

See?  They match!


So, I've got more automotive sewing to do and some programming (as my alter-ego).  Then I should be cleared up to embroider lots of shirts for my 3 best girls (my daughter and my two nieces) and that's when it will get exciting!  I've also got some winter sewing I want to do, including the top from an Oliver+S pattern I purchased during a recent fabric.com sale.

Thursday, September 22, 2011

Peasant Blouse Outfit

Here is the outfit Danielle wore today, which I made earlier this summer.  I realized I never took pictures of it and after trying today, I remembered why I'm not interested in photography.  I have to take dozens of photos and I still don't love the results, grrr.


The chair doesn't match, but I
use it to try to keep her still


The skirt was made as part of another outfit, but it coordinates nicely with this shirt.

Ignore the dirt on the porch...


The shirt is a slightly modified version of the indietutes Peasant Blouse Tutorial.  Instead of creating a casing for elastic at the end of the sleeve, I used bias tape to create a casing an inch or so up from the bottom.  This gives the sleeve a sweet little ruffled edge.  I also sewed and stacked some yo-yo's with a button on top, to add a little something to the shirt.

Size labels from Etsy


The skirt is from an Oliver + S pattern which I'll gush about more at a later date.  I will say I think it's cute and girlie and I love the details at the waistband and that it's lined.

The waistband has two rows of elastic with a drawstring
running down the middle.  I love it!


And here's the whole outfit, which might be easier to see when it's not on an overly-active toddler.

Maybe Santa will bring me a little toddler dressform

Tuesday, September 20, 2011

Technique: Rounded Pockets


Here is one way to get smooth, rounded corners
on patch pockets like these

First, you'll want to baste around the edge of the pocket. 
Use a long stitch length and do not backstitch at the
beginning/end. The stitching should be the same distance
from the edge as the amount you need to fold under. 
So, if you want to fold under 1/2",  baste 1/2" from the edge. 

Because you didn't backstitch, you'll be able to pull on the loose
thread ends--just one of them--to create a slight gather. 
This is going to help create a smooth edge. 
The rounded edge of the pocket will naturally fold inward some.

Here's how the front is starting to shape up.  You'll want to
adjust the amount of gather until you get a smooth curve.

Here's what the pocket (the other one) looks like once it's
been ironed and is ready to be attached. 
It's got a much nicer curve than if I had just tried to fold the
edge under and iron it, and I burnt myself less in the process :)
While sewing the pocket on the garment, you can use your seam ripper
to poke in any bits that look pointy, to make them smooth.
Once the pocket is sewn, remove any basting stitches that sho.

I appreciate feedback, so if anything is unclear or incomplete please let me know and I will do my best to fix it!

Sunday, September 18, 2011

Car Sewing

Hmm, so today I worked on something that's not my ordinary sewing.  A guy my husband works with is restoring a somewhat-old car and wanted to know if I could sew a new vinyl boot for it.  He gave us a bunch of clothes his son had outgrown, so I told my husband I'd see if I could do it.  Here's what my husband brought home for me:

The "before" picture--I took one of the side pieces off to
create a pattern to make the new one from


In case you are confused, this isn't a boot.  I'm not sure what this is called, but my husband brought me three pieces to re-do.  One of them is actually the boot that covers the base of the gear shift.

The "after" picture--Topstitching holds the seam allowance
in place on the underside (and makes it look like the original)


I was concerned about whether my machine (a little Janome Jem) would be able to sew the vinyl, but she had no problem with it.  Topstitching was a bit tricky since the needle leaves big holes in the material.  It meant I only got one try to get it right.

Side by side comparison
 

I think it turned out nice, but I'm going to make sure my husband's co-worker likes it before doing the other 2 pieces.  I am by no means a professional automotive upholsterer!  


Friday, September 16, 2011

Samuel's New Blankets

I've been working on some much-needed (though not that exciting) things for my kiddos.  My son still likes to be swaddled (he's only 3 months) but he is much too big for a regular receiving blanket.  My husband's grammy made some blankets for our daughter by hemming one yard cuts of flannel.  They work great but always seem to be in the wash, so I decided to make a few more.

He's already almost 18 pounds!

This scale of this print (which I bought while expecting my daughter) is too large for clothes, but great for a blanket.  I had enough to make two new blankets and I love them.  Samuel does too!

Wednesday, September 14, 2011

Oliver + S Hopscotch Skirt

I am super lucky to have some amazing photographs to share with you today.  They are from my friend Nicky who writes the craft-tastic blog Bluebird & the boy.  I love to sew and she is a professional photographer so we did a talent swap: she bought some material for me to sew a skirt and a dress for her daughter and I got a photo session out of the deal.  On top of that, she took photos of the skirt I made and shared them with me so I could, in turn, share them with you. 


The skirt pattern is from Oliver + S .  I love the fabric Nicky chose--it gives the skirt a retro vibe and looks adorable on her daughter. 


Oliver + S patterns are pricey, but they have great details.  This one has pockets that look like little takeout containers and a sweet row of buttons up the front.


Thank you for the pictures Nicky! 

Tuesday, September 13, 2011

Technique: Matching Seams


It can be tricky to get seams to meet, like the seams 
between the ruffles of this dress when the front and back 
are sewn together.  This is how I like to do it.


Hold the fabrics right sides together, near the seam to be matched.
Fold the edges back enough to see both sides.


The key is to make sure the seams line up at the point where
the seam will actually be sewn, not just at the edges.  This
shows two seams meeting at my 5/8" seam allowance.  You may
wish to pin your fabrics together at this point.  I usually hold 

them firmly so they don't shift.


Set your machine to a basting stitch.


Baste across the seam.


Sew a little before and after the seam intersection.  You want to
make sure you sew enough to hold the fabric together well, but not 
too much in case you have to remove the basting stitches.


Check and make sure the seams match.  If they do, sew
the seam as you normally would.  If not, remove
the basting stitches and try again.


Sunday, September 11, 2011

Tutorial: Using a Ruffler Foot--Construction

I mentioned in the last post that there's a difference between learning to gather with a ruffler foot and learning to use it to make a garment.

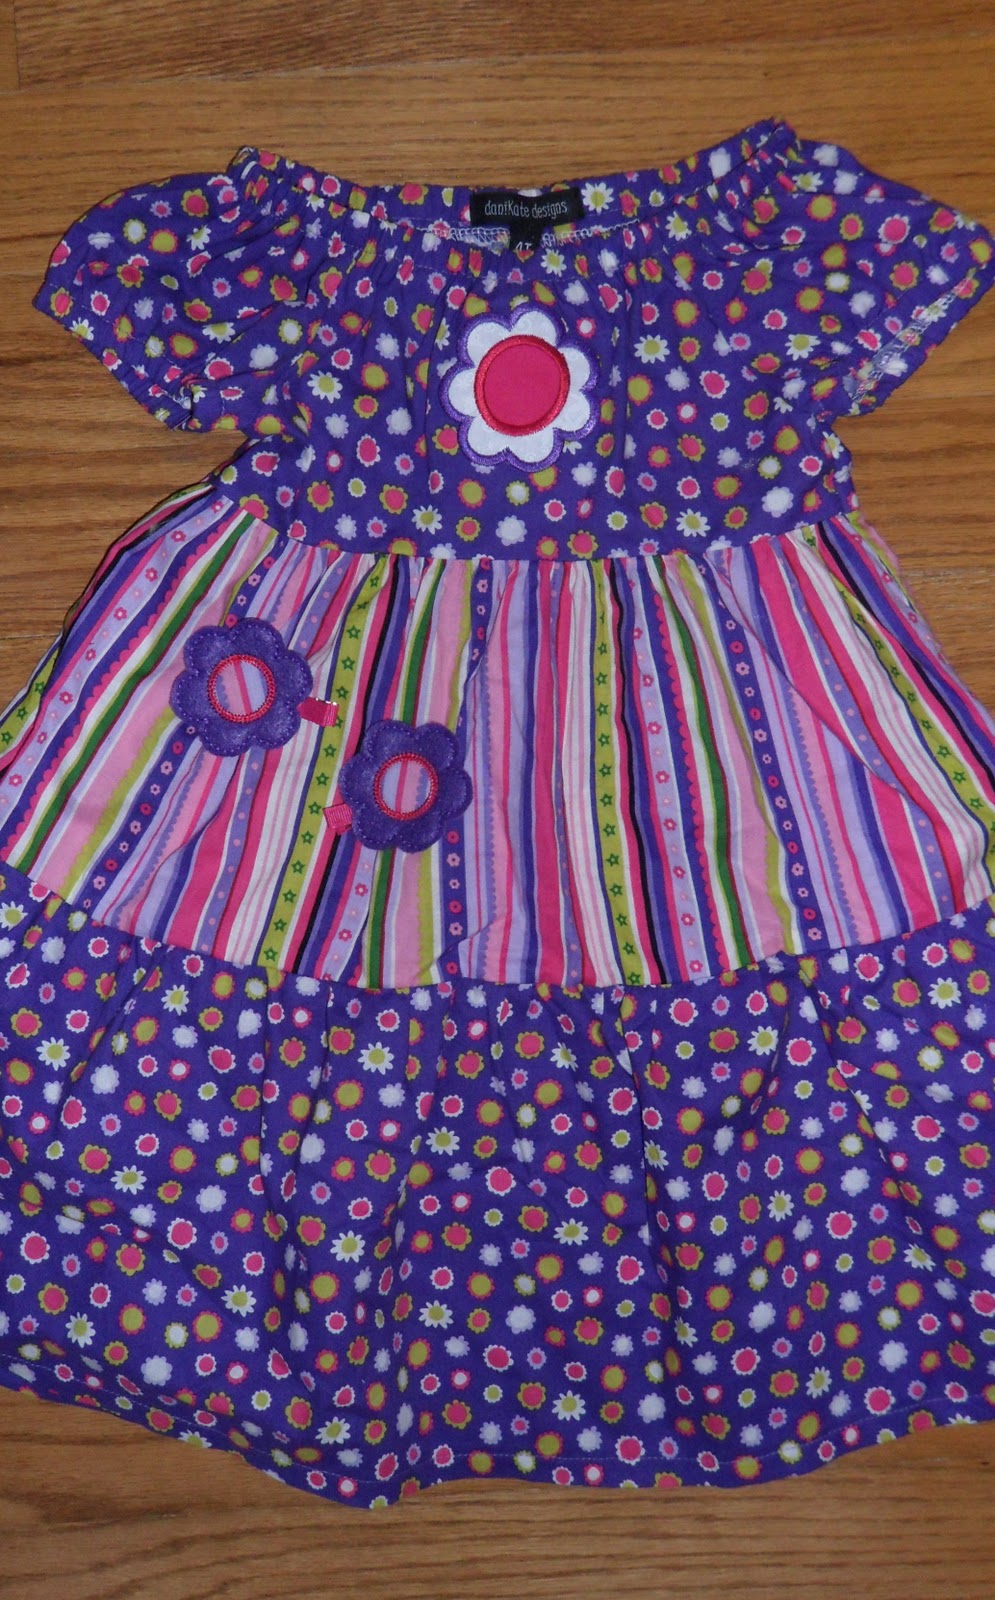
My current favorite dress style involves LOTS of gathering


The first key to using a ruffler foot in a garment is that you want to gather and attach the ruffle in the flat.*  Instead of sewing strips of fabric to make a loop, which is gathered and then sewn on (say, to the bottom of a skirt), we'll sew the ruffles on to the front and back, then stitch the sides together.

Using a ruffler foot this way saves time, but does take some forethought.

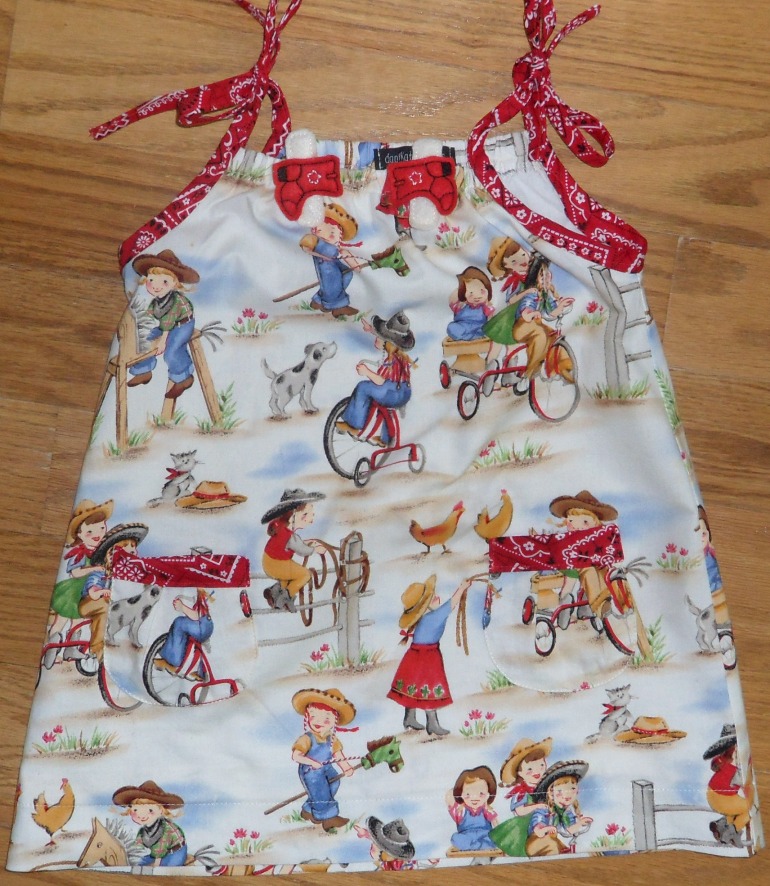
We'll construct two pieces like this, then sew them together


The other key is to leave wiggle room when you cut your ruffle strips.  If you cut them the exact length you need, then you have to ruffle them exactly.  If you cut them a few inches longer, you don't have to spend so much time trying to be precise.  You can gather the strips quickly with your ruffler foot, attach them, and trim off any excess.


1.  Do the math
To start, I measured the pattern pieces used for the tiers.  I came up with the following:
  • bodice - 12 inches
  • middle (contrast) tier - 24 inches
  • bottom tier - 36 inches
A little math breakdown (24:12 = 2:1 and 36:24 = 3:2) shows where those magic numbers came from the other day.  Turns out they are pretty common ratios for ruffles.  If you get something awkward like 28:13 1/4, you can round it to 2:1.


2.  Attach the ruffles
You can choose to either ruffle the contrast strip and then sew it to the bodice, or you can ruffle AND join the two pieces at once.  I chose the latter.

The fabrics should be right sides together, with the fabric to be ruffled on top.  I like to line both fabrics up at the 5/8" guide and then slide them further into the ruffler until they are under the needle.  I have the top fabric folded back a bit so you can see that they are right sides together.


Put the presser foot down and turn the handwheel towards you to bring the needle into the fabric.  Start to sew, remembering you won't be doing a backstitch at the beginning or end of the seam. (You only want the fabric moving front-to-back through the ruffler).

To ruffle & attach at the same time, I like to hold the fabric on the bottom with my right hand resting on it, fingers flat.  Then I hold the fabric on top between the fingers and thumb on my left hand, lining it up with the guide as the fabric moves. 


Gather/sew the middle (striped) tier to the bodice.  You can see the extra "fudge factor" on the striped piece.


Trim some of the excess off--this will get neatened up later.  By trimming now, you avoid some waste with the bottom ruffle.


The bottom tier gets sewn to the dress the same way.


Now trim the extra off neatly.  I got fancy and broke out my rotary cutter and cutting mat for this.  Cut perpendicular to the seam, since your fabric was originally a rectangular strip.


Here's what it looks like after it's trimmed.


Here is the result once both sides are trimmed.  The front should look similar.


Finish the seams between the tiers in whatever method you prefer.  I serged them, but you can zigzag, overcast, bind them with bias tape, leave them be, whatever you want.


3.  Finish the dress

Sew the front to back at the side seams and finish them with your preferred method.


I constructed the rest of the dress by following the instructions for those parts:

Sleeves (I love the free arm on my machine--it makes it easier to sew baby and toddler sleeves)


Hem--instead of doing a narrow hem by folding under twice, I serged the edge and folded under once


Neckline--I also serged/folded under for the neckline casing


I added a size & "brand" label


Whew! It's finally done!


If you have any questions, you are always welcome to email me at: daniKatedesigns@gmail.com

*I might have made that phrase up.  It basically means to attach the ruffle while the fabric is flat (vs in a loop).  Derived from sewing in the round, a real phrase used to describe sewing sleeves. 
**A skirt would be made in a similar fashion, but leaving off the bodice/sleeves and finishing the waist per the pattern instructions. 
Related Posts Plugin for WordPress, Blogger...