Showing posts with label planet applique. Show all posts

Sunday, February 21, 2016

A Lot of Catch Up

There has been a lot of sewing that I haven't gotten around to blogging in the past couple years. I intend to try to blog in detail about some, but wanted to share some of the others briefly.


This was an outfit that I made my daugther for the 4th of July in...2014 (don't judge). I used denim for the shorts and lengthened them about 4 inches. They're super cute, just designed to be a little shorter than I prefer. They're the Lucy shorts from Made from Mermaids and I love how simple, yet cute, they are. The shirt was RTW and I embroidered it with the Star Spangled Cutie design from Planet Applique.


This pretty maxi dress is the Lily Lace dress and romper from Made for Mermaids. I think the back is beautiful, but we don't really do open backs, so this went to a sweet little friend of ours. She's the same size as Danielle so her younger sister usually gets our handmade-me-downs. She was so excited to receive it :)


Here's my goofy girl with my goofy dad :) This is a pajama top I made by using the Miss Mary Mack Tunic pattern from Love Notions. The ice cream fabric was from Hancock Fabrics "spot the bolt" table. It did not feel nice at all before I washed it, but it was so soft and comfortable afterwards. And it was a steal for less than $2/yard! It'll make it's appearance again in summer PJs.


This is the free Izzy top pattern from Climbing the Willow. I didn't want my girl getting pinched on St. Patrick's Day, and she didn't have any green in her dresser, so mommy's fabric stash to the rescue! I lengthened the size 5 for my girl and it ended up way too big :( The white fabric has a subtle stripe in it and was really pretty in person. I don't think anyone else had trouble with the sizing, but I am hesitant to use this again (I normally get good results from following whatever measurements are given).


This top and skirt are so cute together, but D never wore them as an outfit except for pictures. I realized, after taking way too many pictures, that my neckband was wonky. I put the top in my mending pile and there it sits, to this day! She wore the skirt a couple times, but it didn't get worn as much because it was a bit of an orphan (ie, she didn't have any tops to go with it). The top is a soft, buttery yellow knit with white stripes and a woven polka dot collar. The skirt is a quilting cotton with colorful mermaids on it. Both patterns are Made for Mermaids: the Samantha suspender skirt and the Charlotte collar top.


The skirt above did make an appearance when we went to see the mermaids at the aquarium! You can't see it in this picture, but it was too cute not to share. These are my sweet nieces (yes, they're twins) that came to visit. I made a mermaid applique for my nieces shirts using fabric and Heat & Bond. Danielle wore her mermaid skirt from  above, and the girls wore some Katie John skirts from Coles Corner and Creations with mermaid fabric accent (I was pretty low on mermaid fabric and decided last minute to make outfits for the aquarium--there was some seriouspiecing going on and I might have stapled a hem that I forgot to sew...). We had a great visit and the mermaids were really cool to see!

Saturday, November 24, 2012

Back With a Vengeance!

Hopefully I can live up to the hype I created for myself in the post title.  I do have a half dozen projects to share and 3 tutorials/tips related to machine embroidery.  If I can balance family,work and sewing/blogging the way I hope to, I should be posting more frequently for a bit :)

On to the good stuff.  It's a bit belated, but I want to share the shirt I made for Danielle for Halloween (sadly, Samuel never got one).  Here's my little "Candy Corn Cutie".

Yeah, it was that warm in October!

I know of at least 3 sites that have a version of this design, including Stitch On Time, but I was feeling adventuresome and decided to save a couple pounds by making my own design using files I already had.  I used:
I did a little bit of resizing/rotating of the little candy corns, but other than that it was really just layering the different bits together.  Here's what the mashup looked like in Embird:

The candy corn design from the Peace, Love, Candy Corn was actually the first t-shirt I embroidered for Danielle, two years ago.  I didn't get any great pictures of the design, but I had a lot of fun looking at pictures of her a few years ago and I'm going to include one anyways.

Look how little she was!


And, not to be left out, here's Samuel, in his non-embroidered shirt.  I don't feel too bad, I think he's pretty cute, even in a plain shirt :)

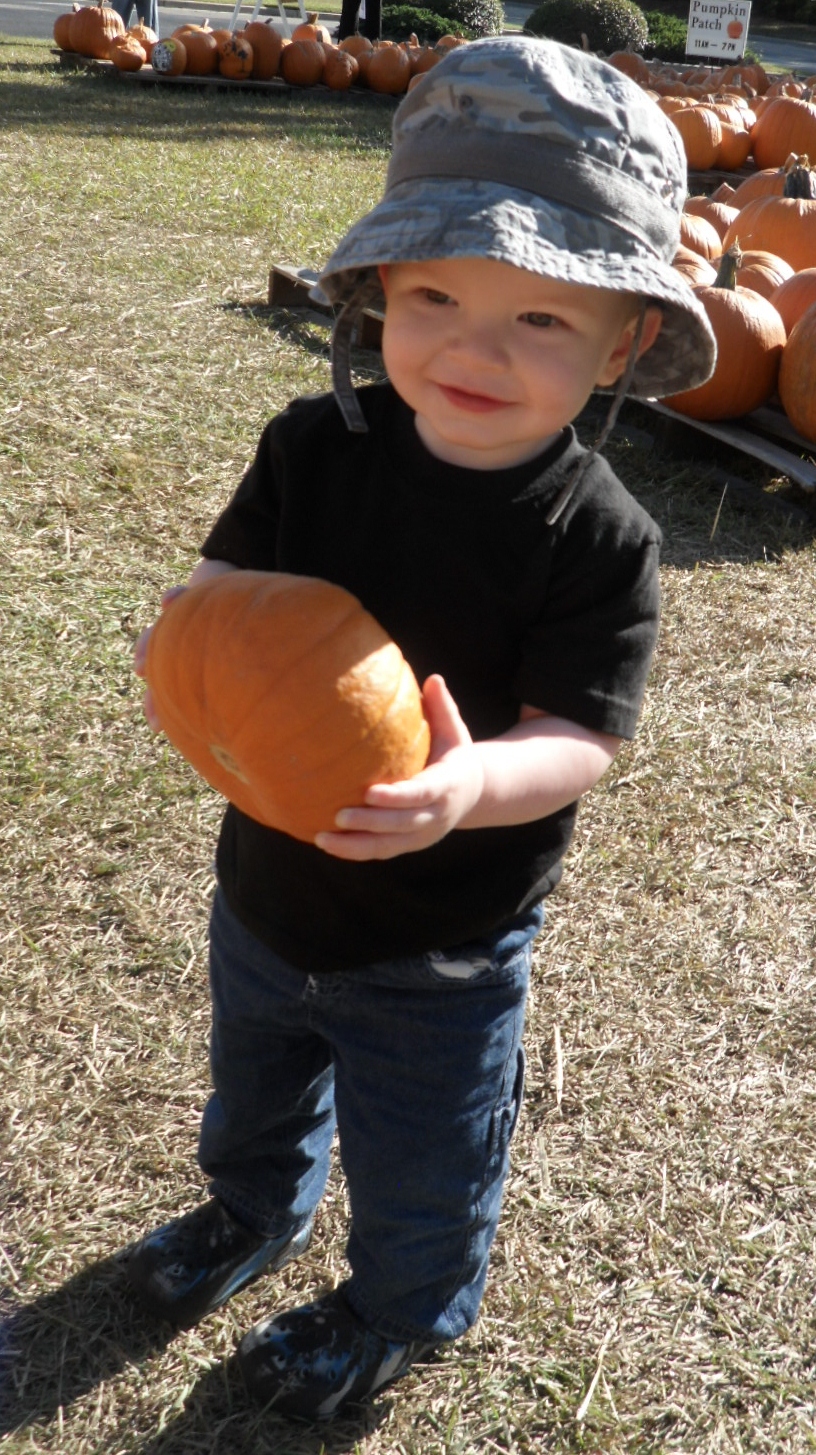
He picked himself out a
Samuel-sized pumpkin

I'll be back tomorrow--our Sunday mornings are filled with church, but that's followed up with my second favorite part of the day--naptime!

Thursday, October 18, 2012

Boo-tiful Nieces

I've made a few Halloween shirts this year and still have hopes of getting one done for Samuel.  This is the pair I made for my nieces.  My sister was sweet enough to share a picture of the girls wearing them to the pumpkin patch.

The shirts say it all :)


I used the "Bootiful" design from Planet Applique.  It stitched out nicely, as her designs always do, and I really like the fabric and color combinations.  My taste has been evolving and hopefully improving!


I embroidered on 5T shirts for the girls, who are 4, in the hopes that they can wear them next year as well.  

I used an old t-shirt (knit fabric) for the eyes

Funny story--I had a picture of these shirts in my head and got very excited to make them, only to discover that I didn't own this design!  Argg! I've got a ton of PA designs and can't believe I didn't have this one.  Obviously I do now :) 

Sunday, August 12, 2012

"H" Towels

I mentioned several months ago that I wanted to be on top of making presents this year.  Hahahaha.  Yeah, didn't quite work out.  My sister told me at Christmas time what she wanted for her birthday in May, and I managed to get her gift to her 2 weeks ago.  Thank goodness I have an understanding family.

It's a hanging kitchen towel.
In case it's not obvious.


She wanted some hanging towels with her last initial on them.  I was going to make towels with a topper on them, like the ones I made last year, but ended up going with a different style instead.  I used the the free instructions provided at Embroidery Library for "Topsy Towels".


The idea, of course, is that kids can't pull the towels down and they won't fall off.  The one main downside to this style is that you lose a lot of the length (because it's looped around the bar).  I do like the way it looks though.

The only other drawback is that they take a lot of time to make if you don't follow the directions.  The way the fabric should be laid out on the towel in relation to the design is like this:


This isn't a trick--the fabric you add goes on the BACK side of the towel.  The instructions mention this just fine. I, however, hurriedly scribbled down some notes in order to let my daughter watch "Bo on the Go" on my computer.  I ended up finishing the entire towel before I realized I had screwed up.  I salvaged it with a lot of fussing and seam ripping,managing to preserve all the work I had done on the L-shaped buttonhole.

See, when you flip the towel around the design
will be on the same side as the fabric.


I used the applique "H" from Planet Applique's font "Landon".  I didn't want something too feminine (her husband has a say in their decor) and I really wanted the triple bean stitch around the border of the letter, to provide some contrast and interest (there are a lot of browns in this towel, after all). 

I know what you're thinking, but the crookedness is part
of the alphabet--see the slant on the serifs?


My sister said she likes them, even though they weren't what we were originally planning.  I was supposed to just embroider an "H" on the fabric, but I didn't think it would be noticeable with all the contrasting shades of brown.  I'm still on the lookout for the perfect hanging towel style though, and welcome any suggestions!

Wednesday, December 28, 2011

Penguin Outfit

Well, I didn't finish all my projects, but I got the majority of them done and I was pleased with the gifts I was able to give my family. I'll be sharing those projects for the next few posts...


I tried to buy some clothes for my son before he was born, to try to space out the expense, but I didn't buy many for winter because I wasn't sure how he would grow. Turns out he's a big boy and in 9 month clothes already. So I appliquéd him some onesies and made some fleece pants to coordinate.

I used fleece for the penguin so he'd be soft & fuzzy
 
I love this little penguin from Planet Appliqué. In fact, I have loved this design since before I even had an embroidery machine. So I was pretty excited to be able to use it on an outfit for Samuel.

This little penguin is a bit of a butterball, like my son :)

Tuesday, August 23, 2011

More Burps

Today's been busy with preparations for Hurricane Irene, so, in case I don't get any projects done in time to take pictures, I'm showing off some more of my burp cloths.  All 3 sets here were sewn to go together, since I think 2 (or more!) burps makes for a really nice gift.
 
Triceratops had some big heads!


I appliqued the last two designs in the fabrics that I offer for personalized sets.  This opens up a lot of opportunities for coordination, since any of the fabric pairs can be used for any of the designs.

I love this "Neutral Stars" set


I wasn't sure about using black on something for a baby, but I really like the way these sweet little animal designs turned out.

Made with "Bright Bugs" fabrics


All the designs for this post are from Planet Applique.  I really like her style and her designs always stitch out beautifully.  There really is a difference between the quality of work of different digitizers, so I want to have a lot more stitching time under my belt before I try my hand at my own designs.

Thursday, August 18, 2011

My First Crayon Roll

I've seen crayon rolls on other blogs and thought they were a great idea.  Planet Applique offers a free in-the-hoop design for one if you sign up for their Yahoo! group, so I decided to make one for my daughter before we went on a recent road trip to Grandma and Grandpa's house.  Here's how it turned out:

I used the font "Madison" from 8 Claws


I thought it was pretty cute, but was surprised because I didn't realize how small it would be.  I made this in a 5x7 hoop, so it's maybe six inches wide.  It holds 8 crayons and had room for her name (obviously).

For my little girl who loves to dance


I laid a ponytail holder down during the step that stitches the front and back together to use as a closure, an idea I saw on one of my favorite blogs: Stitched By Janay.  
All rolled up


Danielle struggles a little with the rubber band and I like the idea of using velcro, but I wanted to make the whole thing with my embroidery machine and I don't have any software to edit designs yet.  I'll be saving my allowance for that after I get a coverstitch machine.  In the future I would also like to try some of the other designs for crayon rolls that include pockets for little coloring pads. 
Related Posts Plugin for WordPress, Blogger...